How to Install an EV Charging Station: Step-by-Step Guide
Installing an EV charging station runs through six stages: site survey, load calculation, charger selection, permits and utility coordination, physical installation, and commissioning. The first two decide everything that follows — most failed or over-budget installations trace back to a survey step that was skipped rather than done badly.
An EV charging station is not a plug-and-play appliance. A residential wallbox is the simplest case, and even that touches your switchboard, your earthing arrangement and your local wiring rules. A commercial DC fast charging site goes further: it involves three-phase supply, load management, civil works and a conversation with the utility. This guide walks through the whole sequence in the order a professional installer would follow, and it flags the checks that decide whether the rest of the project goes smoothly.
Step 1: Site Survey — What to Check Before Anything Else
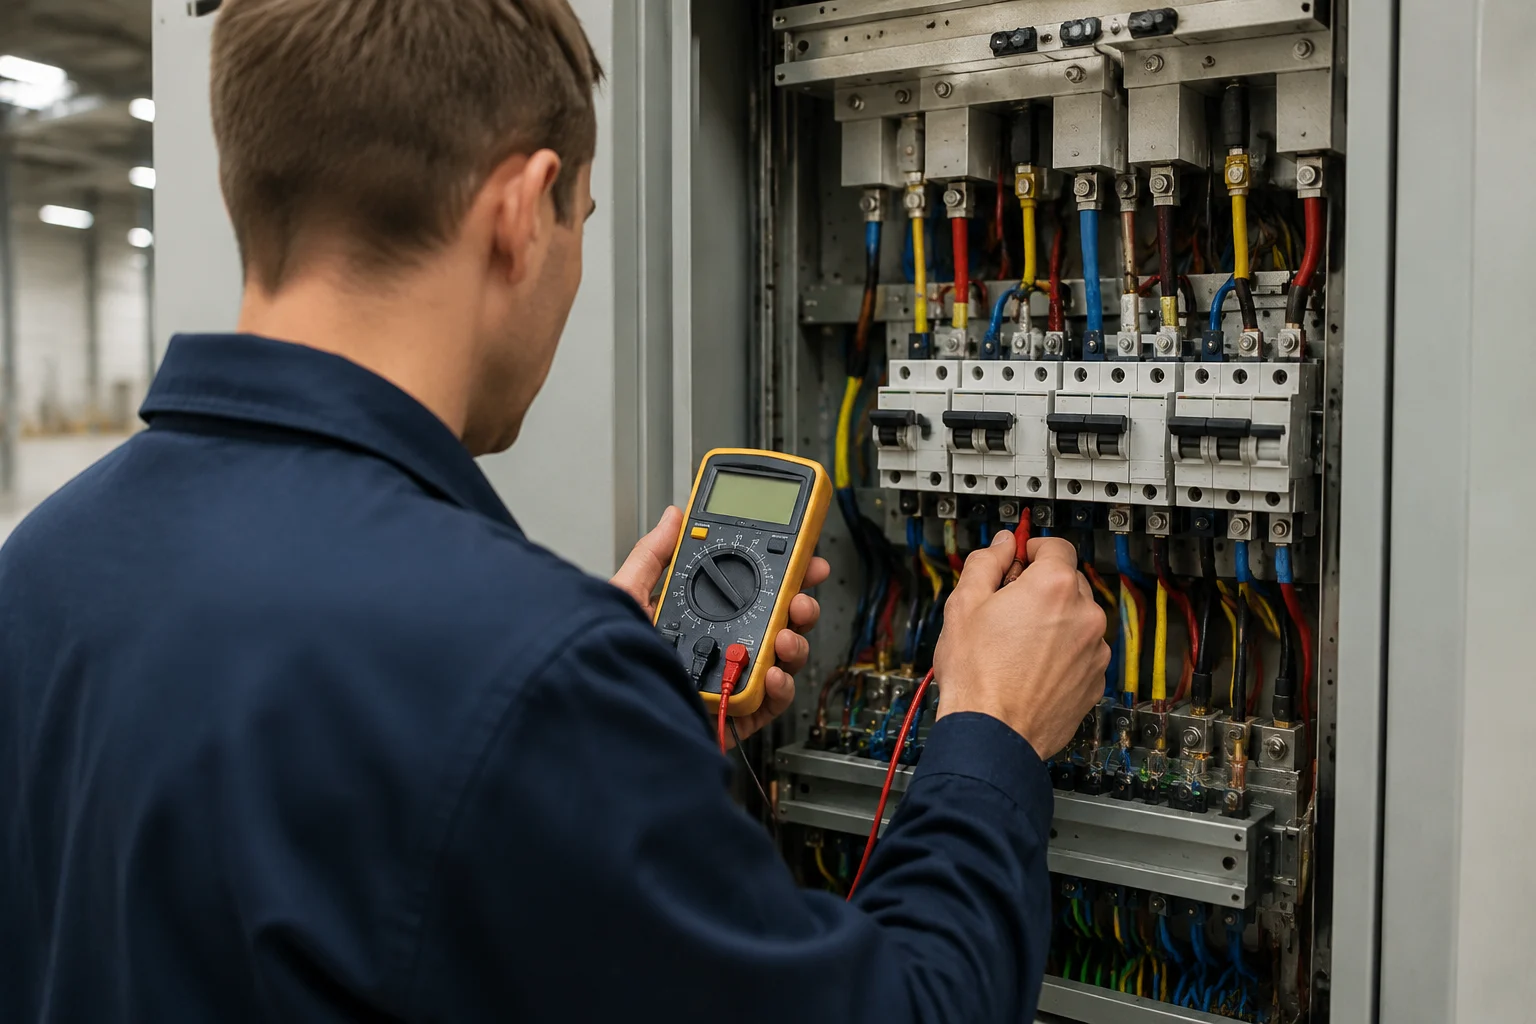
Every installation problem we are called about traces back to the survey. Someone measured the distance from the switchboard but not the cable route. Someone confirmed the panel had space but not the spare capacity behind it. Before you price anything, walk the site and record five things:
| Survey item | What to record | Why it matters |
|---|---|---|
| Main switch / main breaker rating | The rating stamped on the incoming breaker (for example 63 A, 100 A, 250 A) | Everything you add shares this ceiling; a charger that exceeds it forces an upgrade |
| Spare ways in the distribution board | Free slots plus the rating of the spare ways | The charger needs its own dedicated circuit and protective devices |
| Earthing arrangement | System type (TN-S, TN-C-S, TT and so on) and earth electrode condition | RCD selection and shock protection depend on it |
| Cable distance and route | Metered distance from board to parking bay, plus obstacles (walls, driveways, landscaped areas) | Distance drives cable size and cost; long runs add voltage drop |
| Parking bay layout | Bay dimensions, kerbs, bollard positions, drainage, accessibility | Decides mounting style, pedestal vs wall mount, and protection of the unit |
Photograph each of these during the survey. The photos settle disputes later, and the electrical contractor will ask for them anyway.
Step 2: Calculate the Electrical Load
With the survey in hand, work out what the charger will actually draw and whether the supply can carry it. The arithmetic is simple:
- Single-phase AC: a 7.4 kW wallbox on a 230 V supply draws roughly 32 A
- Three-phase AC: an 11 kW unit on 400 V draws about 16 A per phase; a 22 kW unit about 32 A per phase
- DC fast charging: a 60 kW station on a 400 V three-phase supply draws in the region of 87 A, before any other site load
Compare that against the main breaker from Step 1, then subtract the existing site load — HVAC, machinery, lighting, and anything else that runs at the same time as charging. What is left is your headroom. If the charger fits inside the headroom with a sensible margin, you can proceed. If it does not, the options are a load management system that staggers charging, a supply upgrade through the utility, or a smaller charger. These are engineering decisions, not sales decisions, and they should be made before the purchase order, not after.
For commercial sites, ask the utility whether the connection agreement limits maximum demand. Some supplies carry a contractual cap, and exceeding it has commercial consequences even when the hardware could technically deliver more.
Step 3: Choose the Right Charger Type
Charger selection is where budget and purpose meet. AC chargers are cheaper, gentler on the network and ideal where vehicles park for hours — homes, workplaces, hotels, long-stay parking. DC fast chargers cost more and work harder: they serve turnover parking, corridor sites and fleet depots where dwell time is measured in minutes rather than hours.
If you are pricing a DC station, separate the equipment price from the project price early. Our 60 kW DC fast charger cost breakdown explains what a factory quote covers and what it deliberately leaves out. As orientation: compact 20–60 kW units such as the EKDC1 small DC fast charger suit forecourts and small commercial sites, while 60–240 kW cabinets such as the EKDC2 serve multi-bay and corridor locations. Match the power rating to surveyed traffic and dwell time, not to the biggest number on the datasheet.
Step 4: Permits and Utility Coordination
Permit requirements vary widely between countries, and between regions within a country. What does not vary is the principle: confirm before you build. In practice that means three conversations:
- Local building or electrical authority: whether the installation needs a permit, an inspection, or a notified electrical work certificate
- The utility: for anything beyond a small AC wallbox, whether the connection allows the added load and what the process is if it does not
- The building owner or facilities manager: written agreement on mounting positions, cable routes and who maintains what
Keep the answers in the project file. Inspection and commissioning go faster when the paperwork is in order, and if the site changes hands later, the new owner inherits a clean record instead of a mystery.
One practical tip on sequencing: start the utility conversation first, not last. Supply upgrades and connection agreements are usually the slowest items on the critical path — hardware can be shipped in weeks, but a transformer upgrade or a new connection agreement can take months depending on the market. Installers who treat the utility as the first phone call, not the last, routinely finish commercial projects ahead of those who do not. While you wait, everything else can proceed: the survey, the design, the permit paperwork and the procurement decision all carry on in parallel with the utility queue.
Step 5: Install the EV Charging Station, Step by Step
Physical installation should only start once Steps 1 through 4 are closed. The sequence below reflects standard practice for a fixed charging station:
- Mark out and prepare the route. Fix the cable path from the board to the bay, drill or trench as the surface requires, and install conduit or cable protection along the full run.
- Mount the unit or pedestal. Wall mounts need a structurally sound backing; pedestals need a concrete pad with foundations per the manufacturer’s template. Check height and clearance for the connector and cable management.
- Run and terminate the supply circuit. Size the cable for the run length and the design current, allow for derating where the route passes through warm or insulated spaces, and keep power and communication cables separated where the manufacturer requires it.
- Install the protective devices. A dedicated circuit breaker sized to the charger, plus residual current protection appropriate to the charger’s built-in DC leakage detection. If you are unsure which RCD type applies to your charger, our guide to RCD selection for EV charging stations covers Type A, Type B and 6 mA DC detection in plain terms.
- Verify the earthing. Confirm continuity and the earth arrangement matches what the survey recorded and what the charger expects.
- Protect the site furniture. Bollards or wheel guards where vehicles can reach the unit, cable management to keep the connector off the ground, and clear signage.
Throughout the work, one rule outranks all others: the installation must be carried out or signed off by a licensed electrical professional in accordance with local wiring regulations. A charger is a high-current appliance that runs for hours unattended; there is no version of “close enough” that is acceptable here.
Step 6: Commissioning and Testing
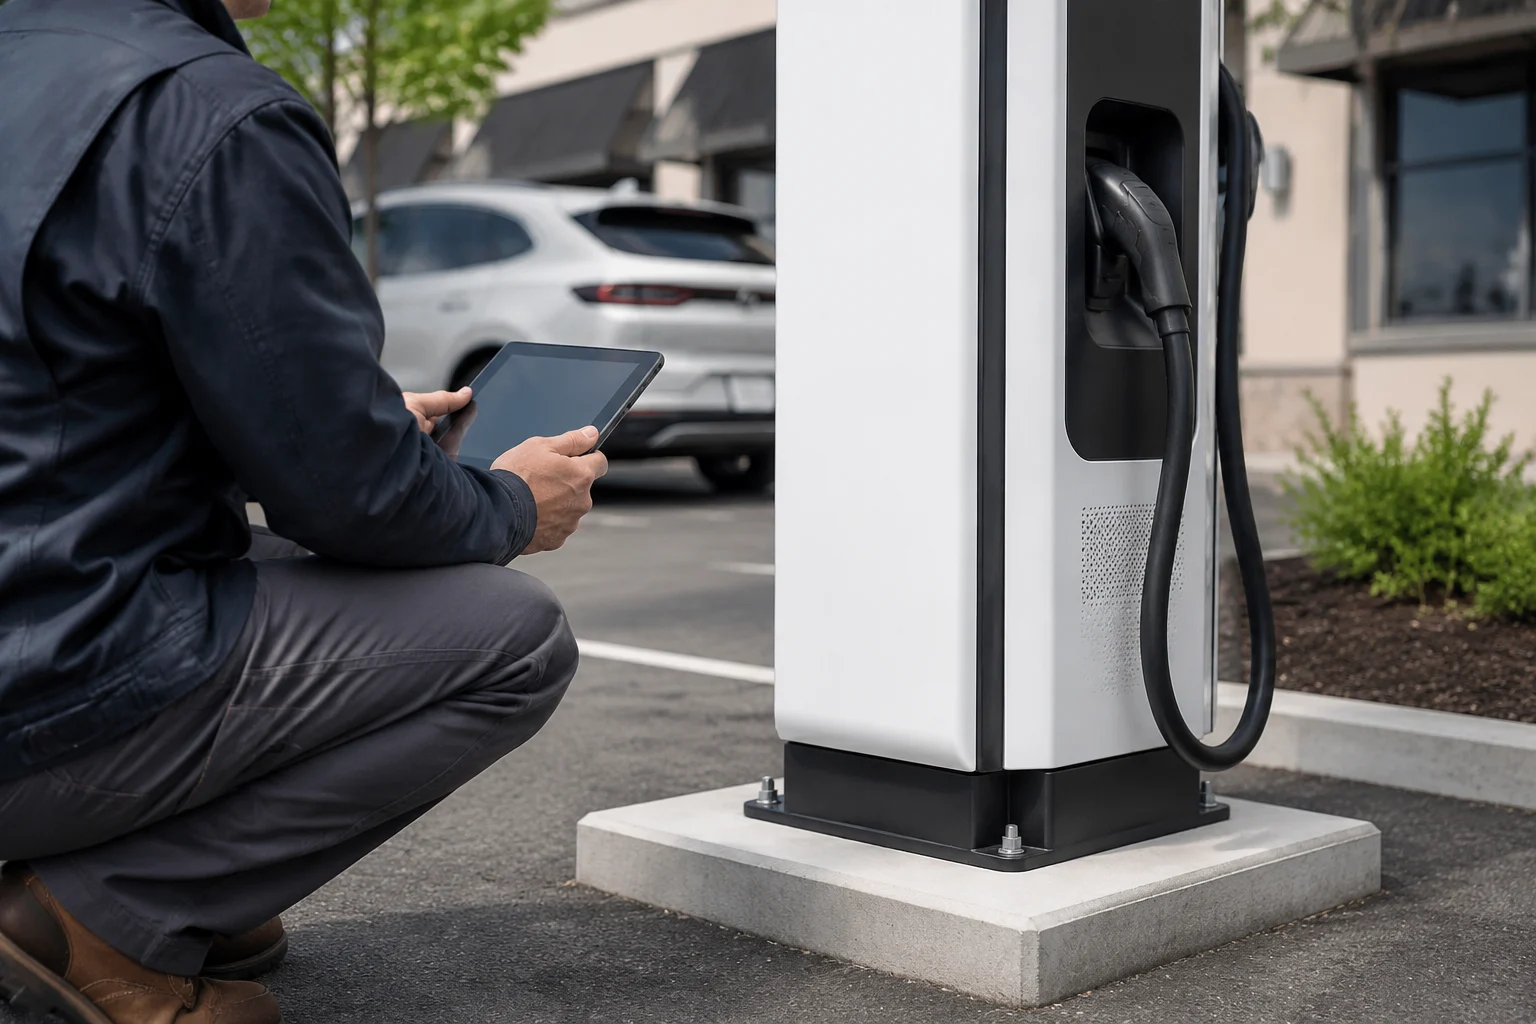
Commissioning is where you prove the installation works as designed — before the first customer, tenant or family member plugs in. A practical test sequence:
- Insulation resistance of the new circuit, recorded with the tester’s actual readings
- Earth continuity and earth loop impedance at the charger point
- RCD trip test: confirm the device trips within its rated time and sensitivity
- Torque check on all power terminations, then re-check after the first charge session
- First live charge: a full session on a real vehicle, watching connector temperature, screen or app feedback, and stop functions (including the emergency stop on DC units)
- For networked chargers: confirm the backend connection — OCPP platform, payment or access system — registers the session correctly
File the test results with the permit paperwork. The record is what turns an installation into a documented, insurable asset.
Step 7: Maintenance That Actually Happens
Charging stations fail quietly — a worn connector latch, a tripped device nobody reset, firmware that never updated. A short routine keeps them honest: visual inspection of the unit, connector and cable for damage; a periodic RCD test using the device’s test button; cleaning of connectors per the manufacturer’s guidance; and firmware or backend checks for smart units. Commercial operators should put this on a schedule with a named owner, because “someone should check it” reliably means nobody does.
Two habits pay for themselves many times over. First, keep a site file: the survey photos, test results, device settings and firmware versions. When something misbehaves a year later, that file turns a day of guessing into an hour of checking. Second, watch the connector — it is the only part of the station that a thousand different hands will touch, and almost every field failure starts there. If the latch starts feeling loose or the cable shows damage near the strain relief, replace the part early rather than waiting for a complete failure during someone’s charging session.
FAQ
How long does it take to install an EV charging station?
A straightforward residential wallbox is typically a half-day of electrical work once the survey is done. Commercial sites take longer, and the installation itself is rarely the long pole — utility coordination and permitting usually set the timeline.
Do I need a permit to install an EV charger?
In most jurisdictions, fixed-installed chargers require either a permit, a notified electrical work certificate, or both. Requirements differ by country and region, so confirm with your local authority and use a licensed installer who handles notifications as part of the job.
What size circuit does a Level 2 charger need?
A typical 7.4 kW single-phase wallbox draws around 32 A and needs a dedicated circuit sized for continuous load, with residual current protection appropriate to the charger. Your installer sizes the exact breaker and cable from the survey data — do not reuse an existing socket circuit for it.
Can I install a DC fast charging station at my business?
Yes, provided the supply can support it. Start with the load calculation in Step 2: a 60 kW unit draws in the region of 87 A on a 400 V three-phase supply, so many commercial sites need a load management system or a supply upgrade. The equipment and project cost picture is in our 60 kW DC fast charger cost guide.